
Alternative automation framework besides Selenium, Appium, and others. Maestro is the simplest and most effective UI testing framework.
﷽
Background
It started with one of the senior engineers who told me about Maestro. Which eventually made me curious to try it out. Based on the documentation, some points that make Maestro more interesting are:
Maestro is built on learnings from its predecessors (Appium, Espresso, UIAutomator, XCTest, Selenium, Playwright) and allows you to easily define and test your Flows.
Built-in tolerance to flakiness. UI elements will not always be where you expect them, screen tap will not always go through, etc. Maestro embraces the instability of mobile applications and devices and tries to counter it.
Built-in tolerance to delays. No need to pepper your tests with sleep() calls. Maestro knows that it might take time to load the content (i.e. over the network) and automatically waits for it (but no longer than required).
Blazingly fast iteration. Tests are interpreted, no need to compile anything. Maestro is able to continuously monitor your test files and rerun them as they change.
Declarative yet powerful syntax. Define your tests in a yaml file.
Simple setup. Maestro is a single binary that works anywhere.
Based on the above points, I decided to give it a try. Before we proceed further, I’d like to share a few disclaimers:
- I visited the website on February 22, 2025. If there are any changes in the future, it’s best for you to explore the official website first.
- I Tested in my local using Mac M1
Installation
I’m using Homebrew. to install Maestro, run the following command:
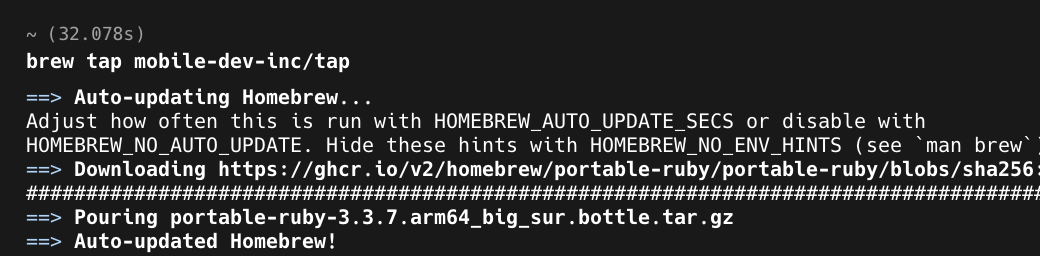
brew tap mobile-dev-inc/tap
The command above will add the tap to your Homebrew. is used to add a third-party repository (tap) to Homebrew. Explanation:
brew → The main command for Homebrew, a package manager for macOS and Linux.
tap → Adds a third-party repository containing additional packages that are not available in Homebrew’s default repositories.
mobile-dev-inc/tap → A repository (tap) from Mobile Dev Inc that includes Maestro for automation testing.
What happens after running this command?
After executing the command, Homebrew will:
- Add the mobile-dev-inc/tap repository to your system.
- Allow you to install packages from this tap, including Maestro.
 Next run the below command to install Maestro:
brew install maestro
if you encountered an error, like Your command line tools are too outdated, like this :
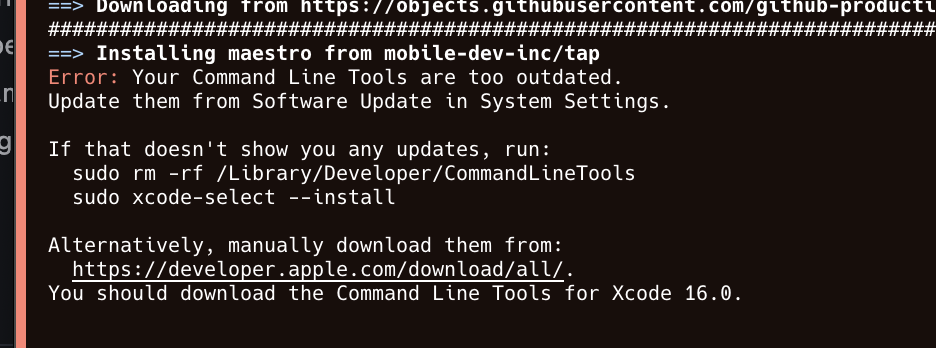
in my experience, I did something to fix it:
- Update my OS system, that includes command line tools
- Before update, make sure you have enough disk space
Finally if everything is okay, you could try this command:
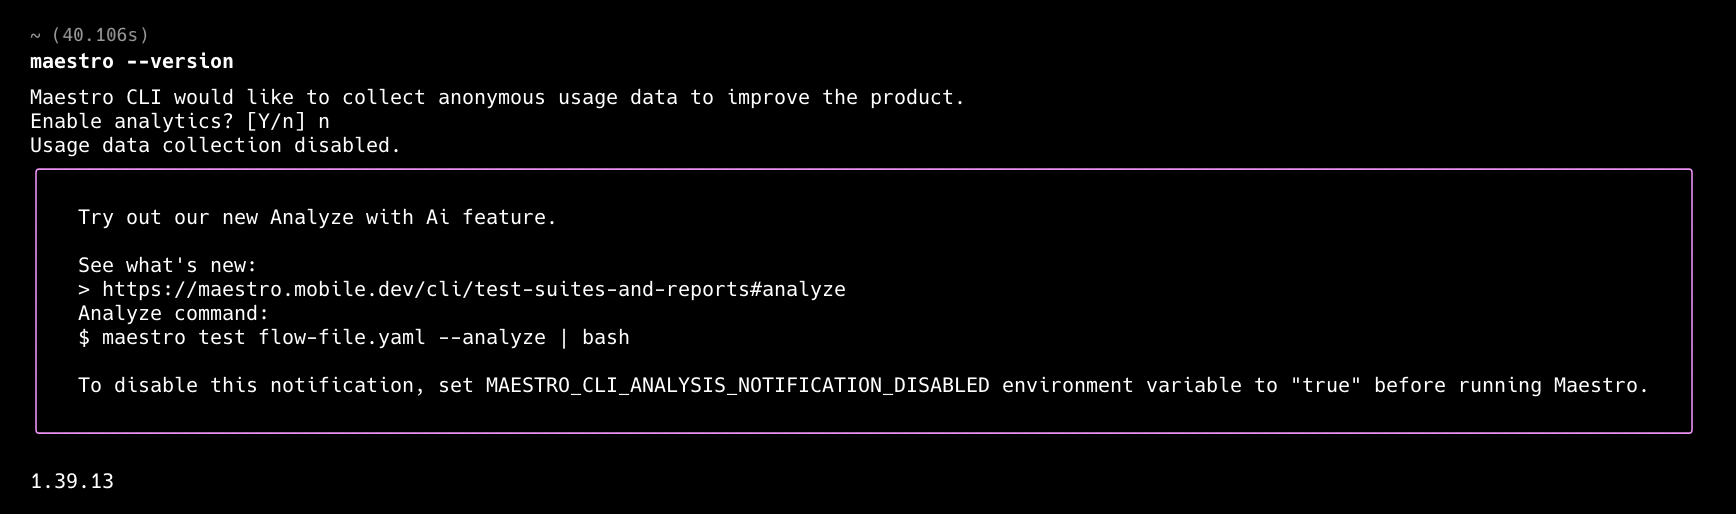
maestro --version
If you run that command for the first time, you will be asked to as follow:
Maestro CLI would like to collect anonymous usage data to improve the product.
Enable analytics? [Y/n]
in my case I just type n
Run a Sample Test
Mestro team has provided a sample test, you can run it by executing the following command:
maestro download-samples
the command above will download the sample test in your current directory. In my case, the command failed to download the sample test, so I downloaded it manually based on error message:

https://storage.googleapis.com/mobile.dev/samples/samples.zip
After downloading the sample test, you can run it by executing the following command:
| Android | iOS |
|---|---|
1 cd ./samples |
1 cd./samples |
2 adb install sample.apk |
2 unzip sample.zip |
3 maestro test android-flow.yaml |
3 xcrun simctl install Booted Wikipedia.app |
4 maestro test ios-flow.yaml |
-
Android
- first command to change directory to samples
- second command to install the
sample.apk - third command to run the test
-
iOS
- first command to change directory to samples
- second command to unzip the
sample.zip - third command to install the
Wikipedia.app - fourth command to run the test
The iOS second command is to extract the sample.zip, since the Wikipedia.app is inside the sample.zip
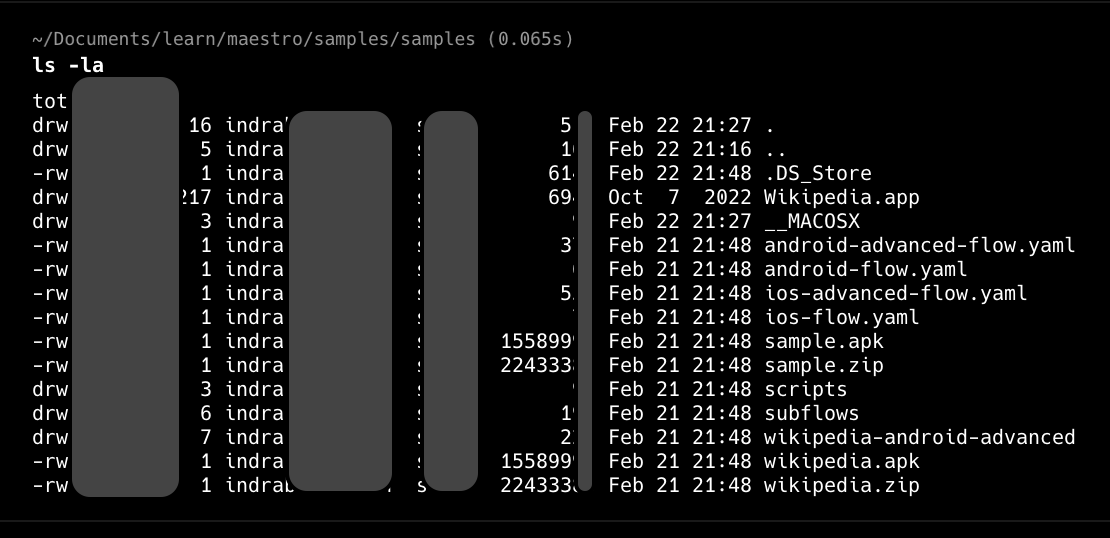
Here is my directory structure:
Please ensure you already run the emulator (Android) or simulator (iOS) before running the test
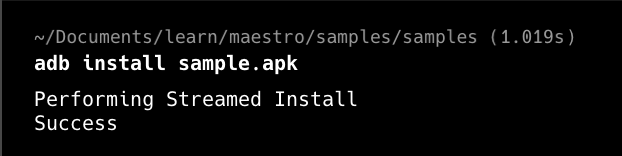
Android
-
install sample apk (Wikipedia)
- Try to check the package name, in my case
com.wikipedia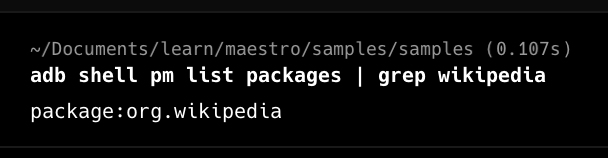
- Try to check the package name, in my case
-
run the test
maestro test android-flow.yaml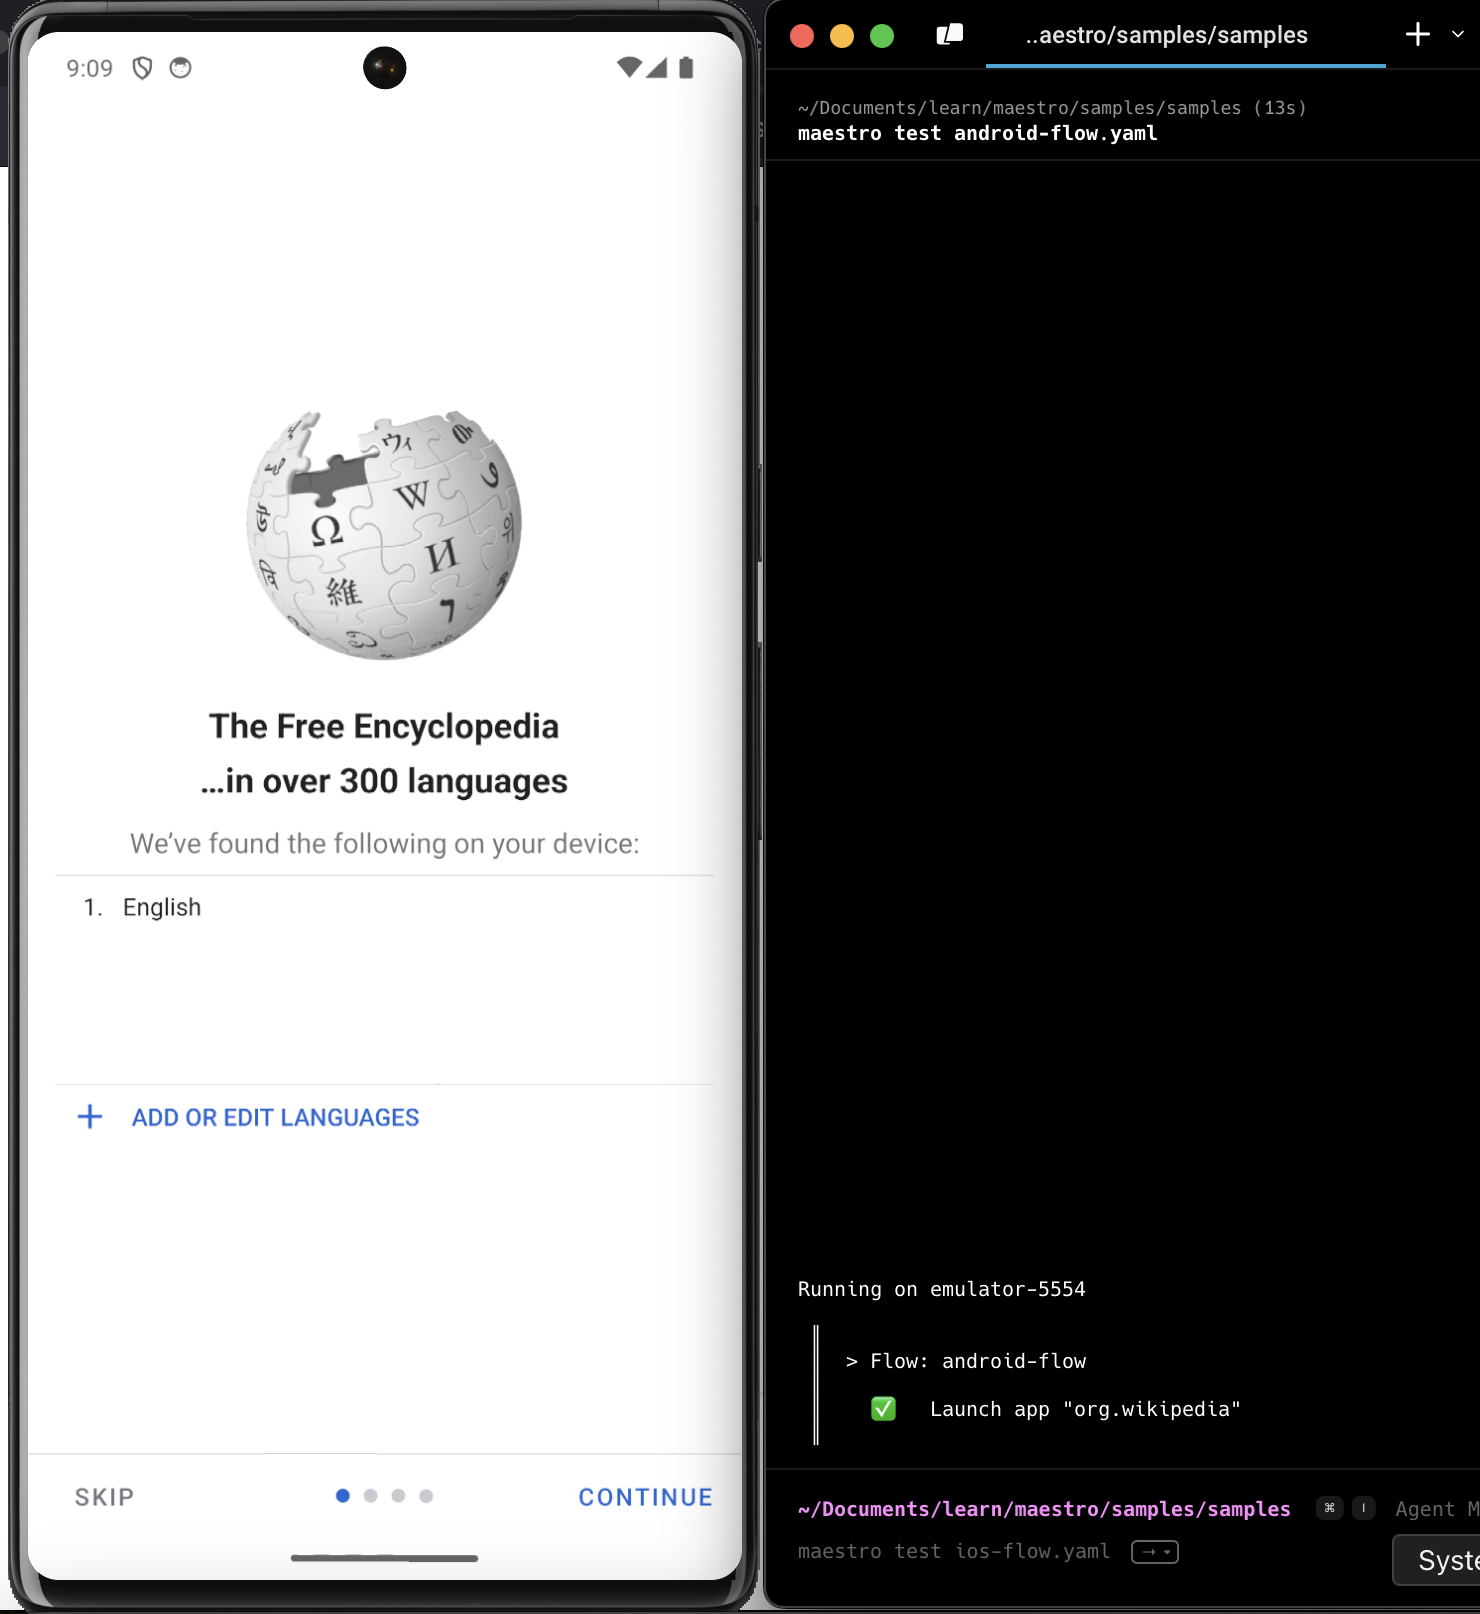 the test above is the simple test provided by Mestro team. If we see in the file content
 android-flow.yaml, the content is (only 6 lines):1 appId: org.wikipedia 2 tags: 3 - android 4 - passing 5 --- 6 - launchApp
If we want to run the a little more complex test, we can run the test maestro test android-advanced-flow.yaml the file android-advanced-flow.yaml already provided by Mestro team in the sample test. we could see the file content:
    1 appId: org.wikipedia
    2 tags:
    3  - android
    4  - passing
    5  - advanced
    6 ---
    7 - runFlow: subflows/onboarding-android.yaml
    8 - tapOn:
    9    id: 'org.wikipedia:id/search_container'
    10 - tapOn:
    11    text: 'Non existent view'
    12    optional: true
    13 - runScript: scripts/getSearchQuery.js
    14 - inputText: ${output.result}
    15 - assertVisible: ${output.result}
    16 - runFlow: subflows/launch-clearstate-android.yaml
-
Please notice in the line 7 and 12;
- those line are to use existing flow in the
subflowsfolder
- those line are to use existing flow in the
-
Please notice in the line 8 and 9;
- those line are to tap on the view with id
org.wikipedia:id/search_container
- those line are to tap on the view with id
-
and so on, you could explore more for the details
-
run the test
maestro test android-advanced-flow.yaml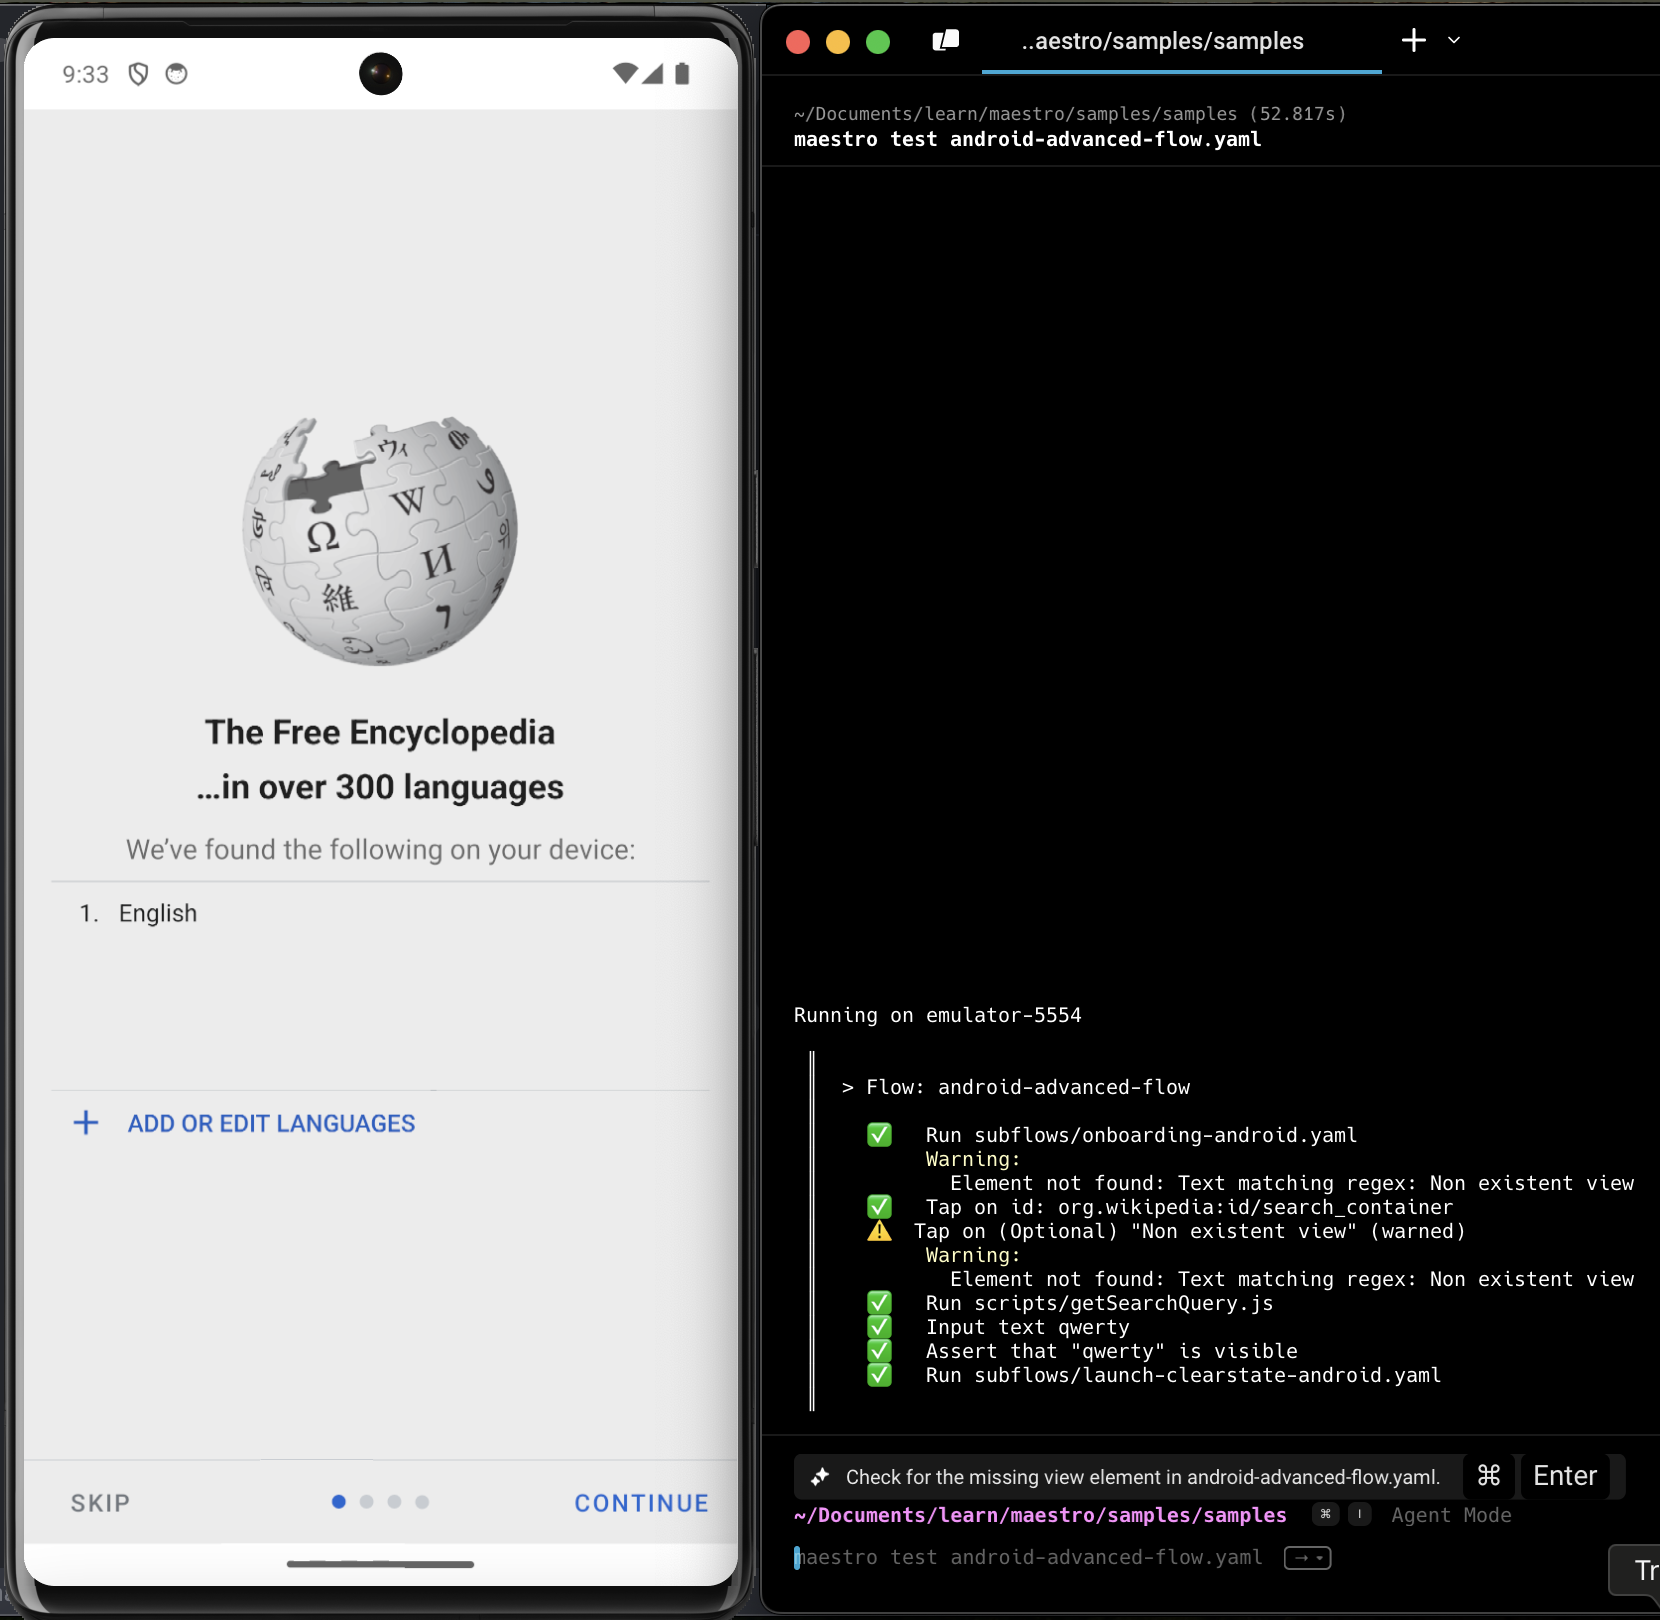
iOS
-
install sample app (Wikipedia) before this you could
unzip sample.zipxcrun simctl install Booted Wikipedia.app- after that to ensure the app is installed, you could check by command
xcrun simctl listapps booted | grep -i wikipediait’s will json output like this: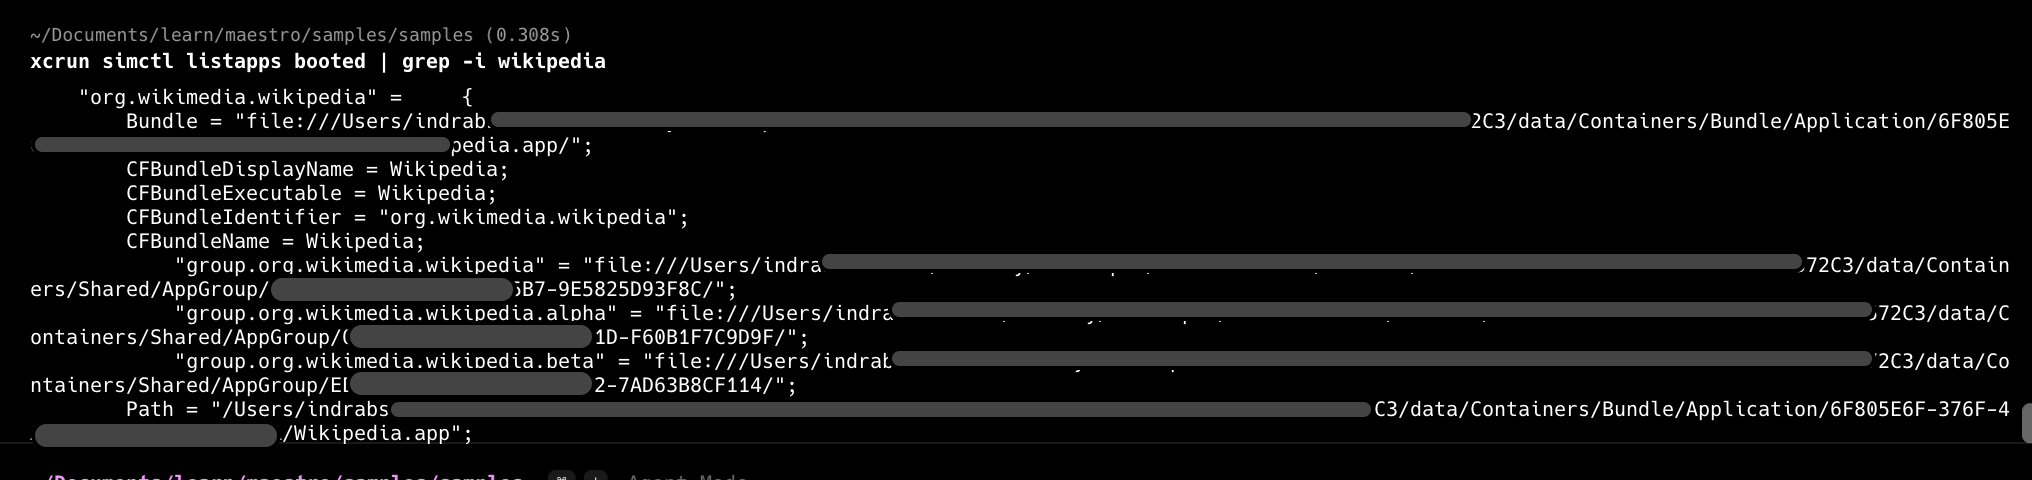
-
run the test
maestro test ios-flow.yaml
-
similar to Android, if we want to run the a little more complex test, we can run the test
maestro test ios-advanced-flow.yaml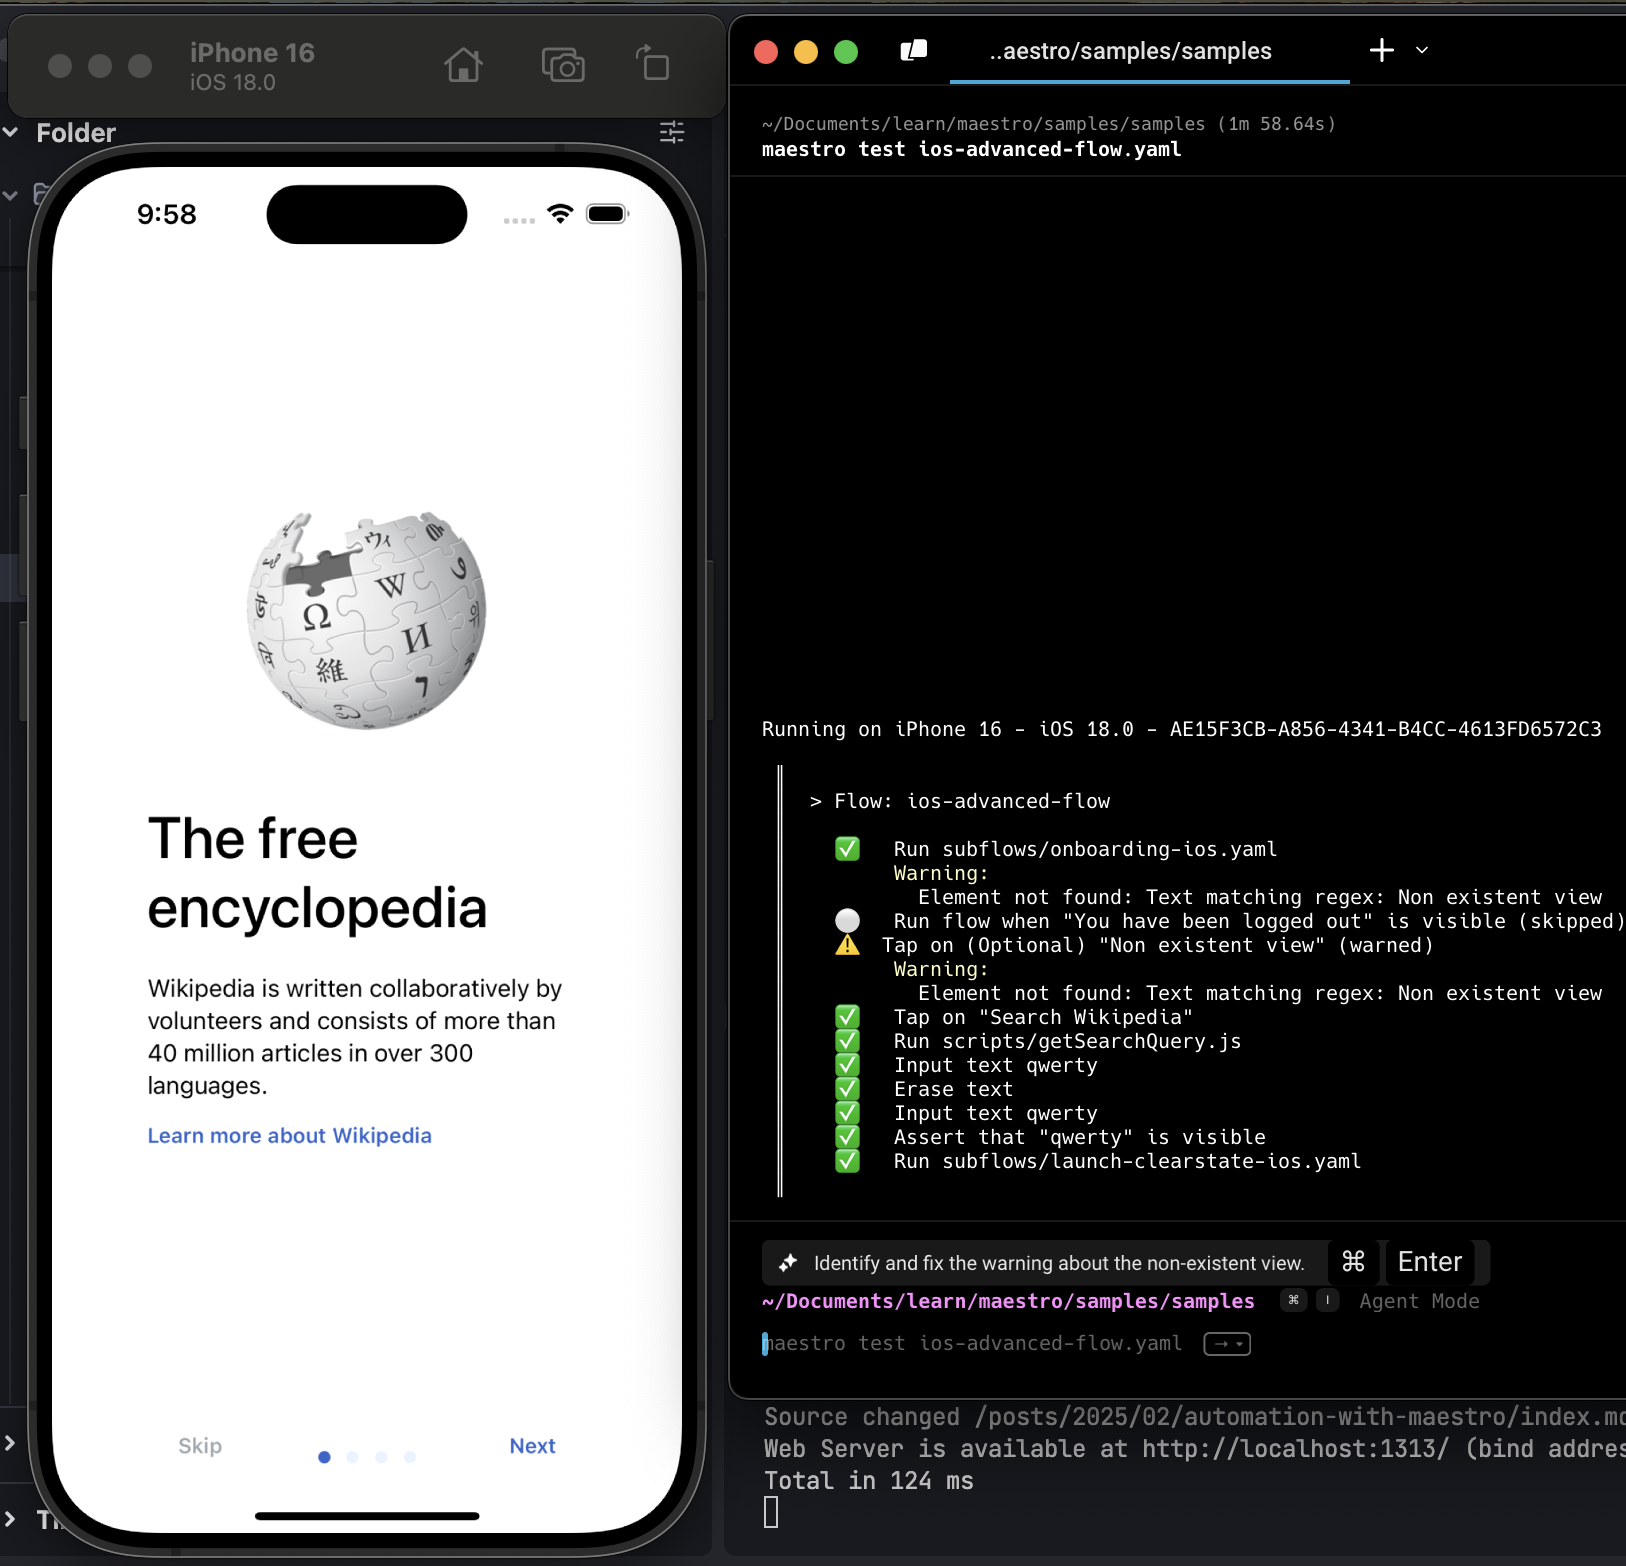
Conclusion
Maestro is a simple and easy to use. Since Maestro is built on learnings from its predecessors (Appium, Espresso, UIAutomator, XCTest, Selenium, Playwright) wish it’s could be as good as them.
For more information, you could check the Maestro website. That’s my notes.